Book a Free Visit
Get Expert Robot Mower Advice for Your Lawn

A pop-up garden sprinkler system requires an amount of planning and a bit of work but it's really worth the effort. You can have a healthy lawn and more free time.
A well designed pop-up sprinkler system will ensure reliable watering while you're away from home. The watering system can be made completely automatic with the addition of one of the Gardena water controllers. Your garden will always be looking its best.
Gardena manufacture a complete range of quality watering equipment; from sprinklers, piping, to electronic control products. A pop up garden sprinkler system is designed to permanently installed. Pop-up sprinklers are installed below ground level and are designed to be unobtrusive until activated by water pressure. They extend above the ground to allow efficient and even watering and disappear back into the ground once they have done their work.
It is worth choosing a brand such as Gardena because their system is so easy for anyone to install. The patented "Quick and Easy" Simple Connection Technology easily allows a domestic householder to install the GARDENA Sprinkler system without the need for professional installers.
Good planning now will prevent much frustration later. Draw a plan of your garden and the areas to be watered.
Don't get too obsessed over this paperwork: you will have the chance to verify your plan later, but try to allocate a sprinkler unit to each position that requires water. Take note of the range and spray pattern that each pop up sprinkler is capable of and ensure that all areas are covered. There will need to be a small amount of overlap of the wetted areas to ensure that there are no gaps which could cause very unsightly patches of dry grass.
The limitations of the average home water supply in the UK will mean that the ideal number of sprinklers that can be run successfully off a single 25mm pipe run is 2-3. It is, however, not recommended to install more than one S type sprinkler, (S80 0r S300) on a pipe circuit - they have a much greater flow requirement and they each need their own separate feed. If using the turbo T style sprinklers, you can have two or more on a circuit, but performance, and spray distance will be reduced with each additional unit.
If you are not sure about: what to buy, how many sprinklers to install, which options to choose, please contact us at support@mincost.co.uk. We always respond to email, and we have staff who can get back to you for help and advice on sprinkler system planning. Our technicians may be out carrying out installation work for customers, but should be available to respond to an enquiry on the same day.
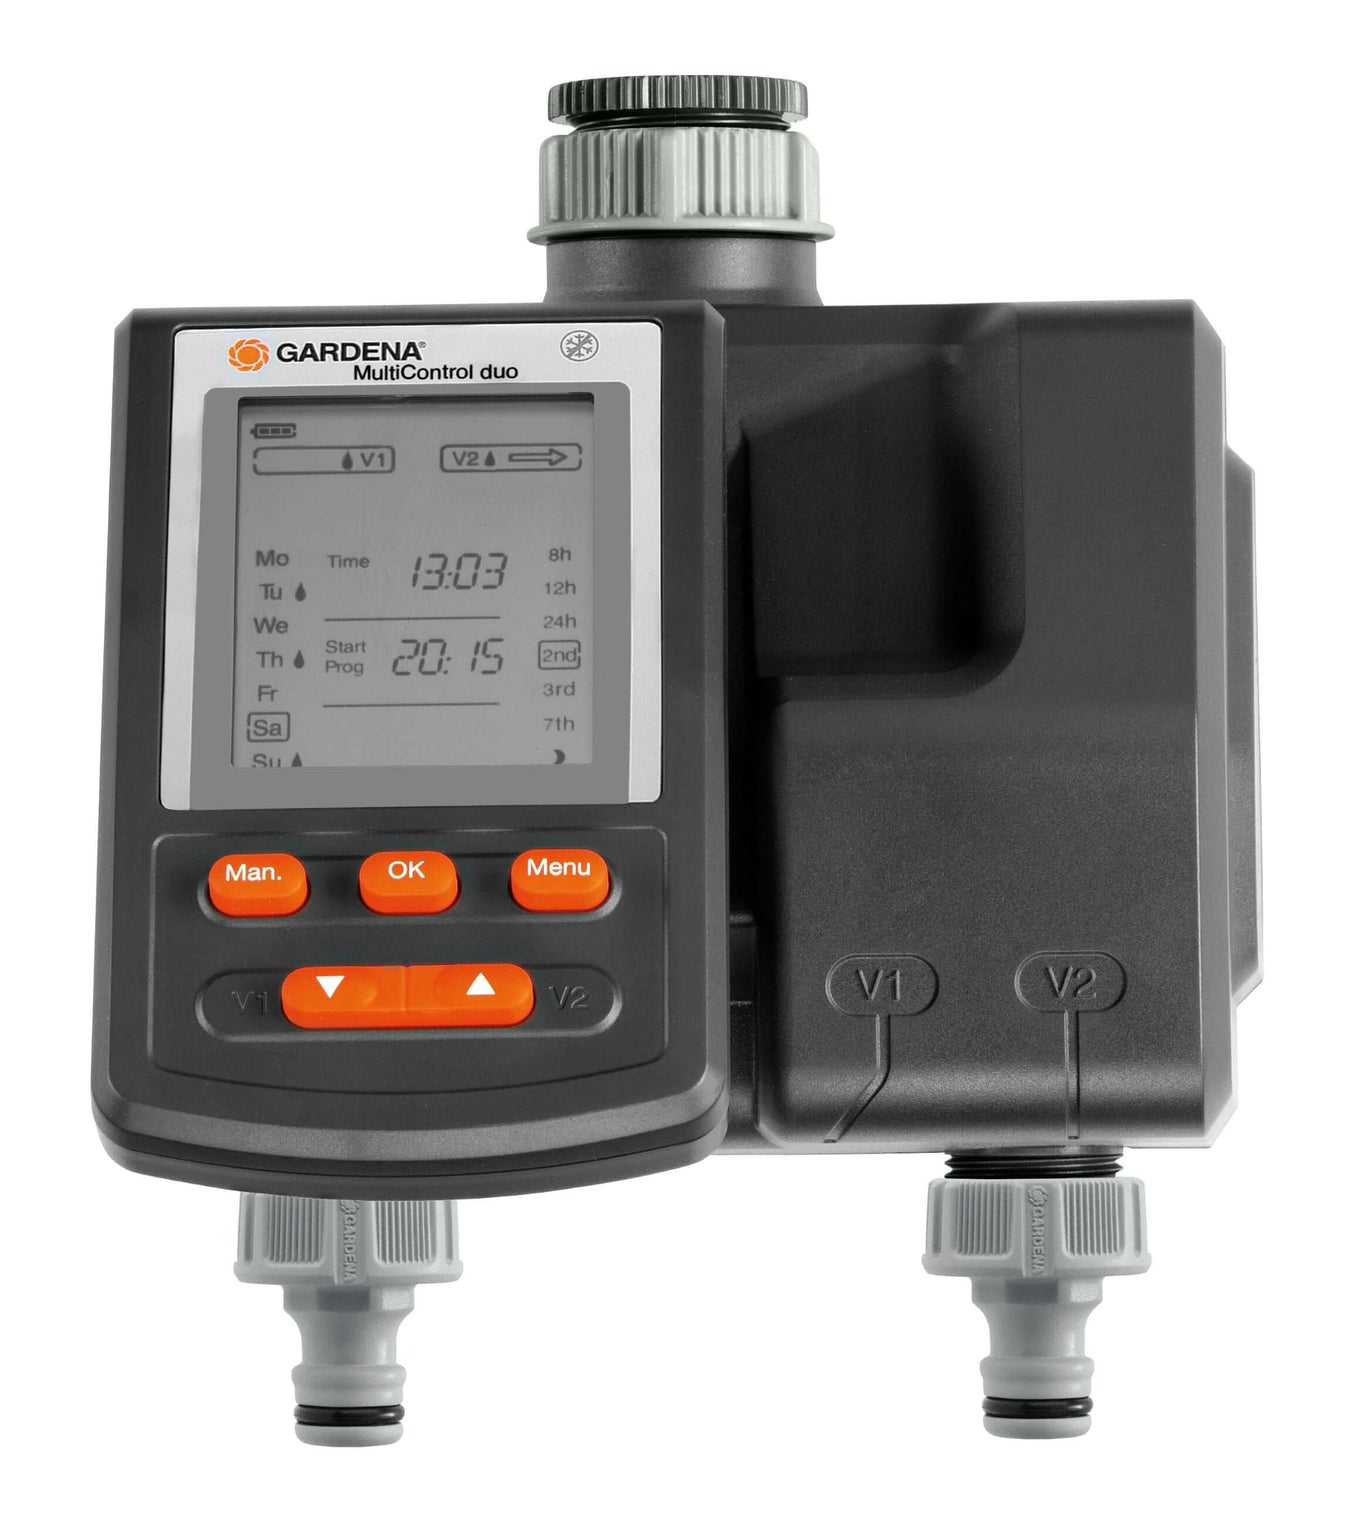
If you need to install more than one pipe run we recommend using one of the Gardena valve systems to allow separate control of each circuit. The controller can be a wall mounted wired unit, an internet connected system, or the Bluetooth valves controlled from a mobile phone app. Each of these systems can be installed by the homeowner and technical knowledge or skills are not required.
It is not possible to connect Gardena type T and type S sprinklers together to the same pipe run. If your plan contains both T and S sprinklers, put them into two separate pipe systems from your water connection.
It is also necessary to observe the thread size required to attach pipeline to the sprinkler head. Make sure you buy the Gardena pipeline fittings with a compatible thread (1/2" or 3/4") size connection.
The sprinkler system will be assembled above ground for testing, before it is buried in your garden.
Once the sprinkler positions have been decided, decisions can be made on pipework. A tip from our install technicians: if you have a large area necessitating several circuits, use just one large trench to "lead out" the pipework for many separate sprinkler circuits. You can then branch off to smaller individual or groups of sprinklers. It is quite acceptable to have several pipelines running in the one trench. This saves digging multiple trenches all over the site and keeps the system tidy, compact and easier to maintain in the future.
It may be necessary to cross paths or avoid obstacles such as tree roots. Consider making a detour, or digging underneath if you can; it's much more tidy and less destructive.
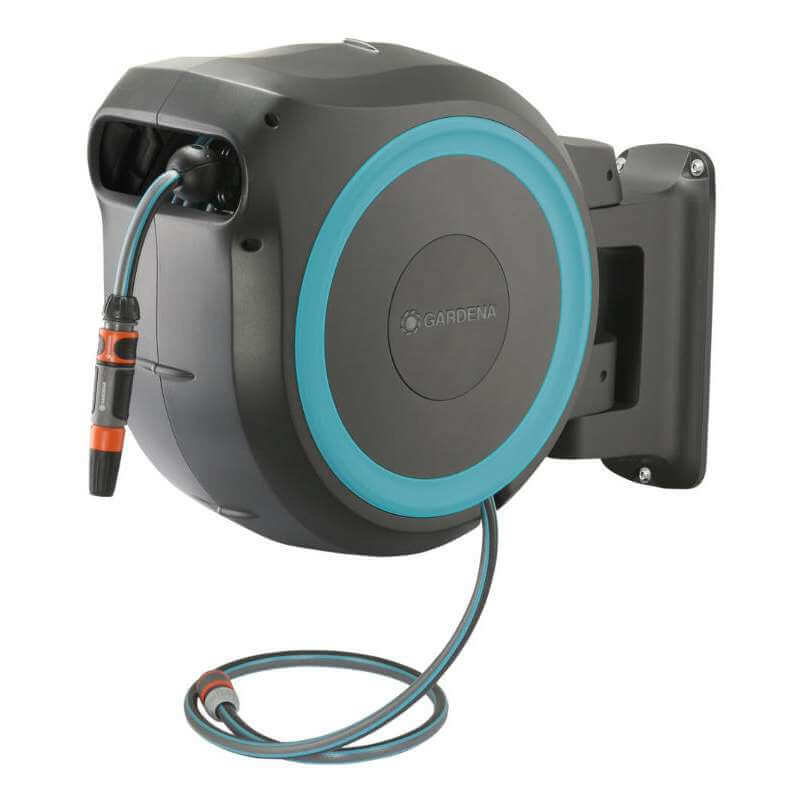
From the tap you will need a connection hose such as the Profi Maxiflow system connection set . It provides a quick and easy connection, and helps to provide maximum water flow to the sprinkler system - without leaks.

The connection hose will connect into the gardena connecting point placed in the ground. This can provide a very convenient connection to your pop-up sprinkler system. When you want to mow the lawn, it can be disconnected quickly.
Small particles in the water supply can cause sprinklers to fail in use. If contamination enters via a dirty hose connection, or limescale in the water supply you could have repeated sprinkler problems. This may necessitate disconnection of the sprinkler system for flushing through, and downtime for the sprinkler system. It's worth considering fitting a central filter for piece of mind and reliability for your garden sprinkler system. It's an inexpensive addition that could prevent annoying sprinkler failures.

At the lowest point in your pop-up sprinkler system you should install a drain valve in a pack of washed gravel.
If drain valves are installed at the lowest points of the pipework they will reduce the possibility of frost damage to your sprinkler system. The drain valves open automatically after watering; as soon as the water pressure is less than 0.2 bar, the sprinkler pipework is drained.
On slopes, the height difference between the drain valves must not exceed 2 m. Install several drain valves on slopes if necessary. To improve drainage and to protect the drain valve, underlay it with a soak-away water drain packing (washed, coarse gravel, approx. 20 × 20 × 20 cm).
Now replace the soil, lay the turf on the soil and tread down. Everything will grow back faster if you water the soil and turf beforehand. After two to three weeks, providing the turf is not allowed to dry out, the lawn damage will not be visible.


Lay out all the parts of the garden sprinkler system in accordance with your plan.
To make the pipes easy to straighten, unwind one to two hours beforehand and lay them out in the sun.
Cut the pipes to the correct length in accordance with the plan. Make sure that no soil enters the pipeline. If necessary, deburr the pipe, i.e. remove any dirty cut edges.
At each joint a sealing O-ring is positioned inside the coupling. Push the pipe through the O-ring as far as it will go. This should be approximately 6 cm into the connecting part. This will create a water-tight connection.

It's not easy to prevent soil or other debris entering the system during assembly. Even small particles can cause a sprinkler to fail, so it's worth eliminating the risk before burying the pipework. Once all of the joints are made, connect the water supply. At each sprinkler, disconnect the joint and allow water to flow freely for a few seconds. Work down the system until the whole system has been well flushed through. If you suspect that the sprinkler itself is contaminated, take it off and reverse flush it under a tap.
Now is the opportunity to ensure that the garden sprinkler system performs as expected. It is relatively easy to make changes at this point before the system is buried, so spend plenty of time on testing. Is it operating as required for your garden?

View the sprinklers in operation and be sure that all areas are covered adequately. Now adjust the spray direction, the sectors and the reach on each sprinkler to maximize coverage and minimize overlap. On a Gardena sprinkler anything coloured orange is for user adjustment. Simply use a screwdriver to turn the screw to regulate the range and move rotary sliders to change the sector size and angle.
If you think you need to extend the watering area with the addition of extra sprinklers, do it now. If you have several zones, switch them on together, and then individually. Assess the output when the system is a maximum load, and also each circuit individually - have you got enough separate circuits to ensure best performance?
It's easy enough to modify the pipework at this point. Don’t give yourself the difficult and disruptive task of trying to connect to the existing system below ground level after you've buried it.
Use a spade to cut out a V-shaped trench approximately 20-25 cm deep. Carefully remove the turf so that it can be re-used that you have dug out and dig out the trench. Remove any stones from the trench.
Before installing your garden sprinkler system components it's best to mow the lawn and water it beforehand. This will make the process easier.

Lay lines with sprinklers and components connected in the trench. All sprinklers, connecting points, and water connectors must be installed flush with the ground surface. Compacted soil can be used to build support for each sprinkler so that they are held in the correct position before replacement of the turf. The head including recessed grip should be above the ground for regular cleaning, but make sure nothing is protruding above ground level.
Finally, carry out a test run just before you cover the pipes underground. Make sure the sprinkler system is watertight. If there are leaks, check to see if the pipes are actually placed as far as they will go into each coupler. Make sure that the rubber seals are in place and have not been twisted. Release the connector collar and push the pipes into the joint as far as possible - the leaks should stop.
Did you install your GARDENA Sprinklersystem before 2005 and now want to extend or upgrade it? For changing from the 19 mm connecting pipe to the 25 mm pipe, use the Adapter Piece Item. no. 1513 combined with the Connector 25 mm × 1" male thread Item. no. 2763. For changing from the 32 mm connecting pipe to the 25mm pipe, use the Reduction Connector Art. no 2777