Book a Free Visit
Get Expert Robot Mower Advice for Your Lawn
Here are all the steps to change the wheel motor on your Automower 450x , Automower 430x and Automower 420 robot lawn mower.
1.You will need an area with good lighting and some type of workbench to work on. prepare your automower for work by brushing off all loose debris.
2. You will need a Torx T20 screwdriver or T20 bit for a drill. If you do use a drill to screw/unscrew you need to make sure you only use a very slow speed otherwise you can strip the threads in the chassis. If you want to do the job properly a torque wrench should also be used. Of course you will also need a new Automower wheel motor.
3. Make sure you have switched off the automower with the switch on the underbody and towards the back of the main body.
4.You need to dismantle the body. underneath the machine and towards the front on you will see rubber grommets. You need to pull these out.

Be careful when doing this as each rubber grommet is attached to a cable that you need to unclip. The cables should come out around 5cm.
5. Next step is to remove the automowers top chassis from the main body. To do this we suggest pressing your hand onto the centre of the automower where the keypad is located. With your other hand you pull up on the corners of chassis, this should pop off. You will find a lot of dirt and debris underneath and this will need to be cleaned off before you can split the body. Its very important not to let any dirt inside the main body of the automower.

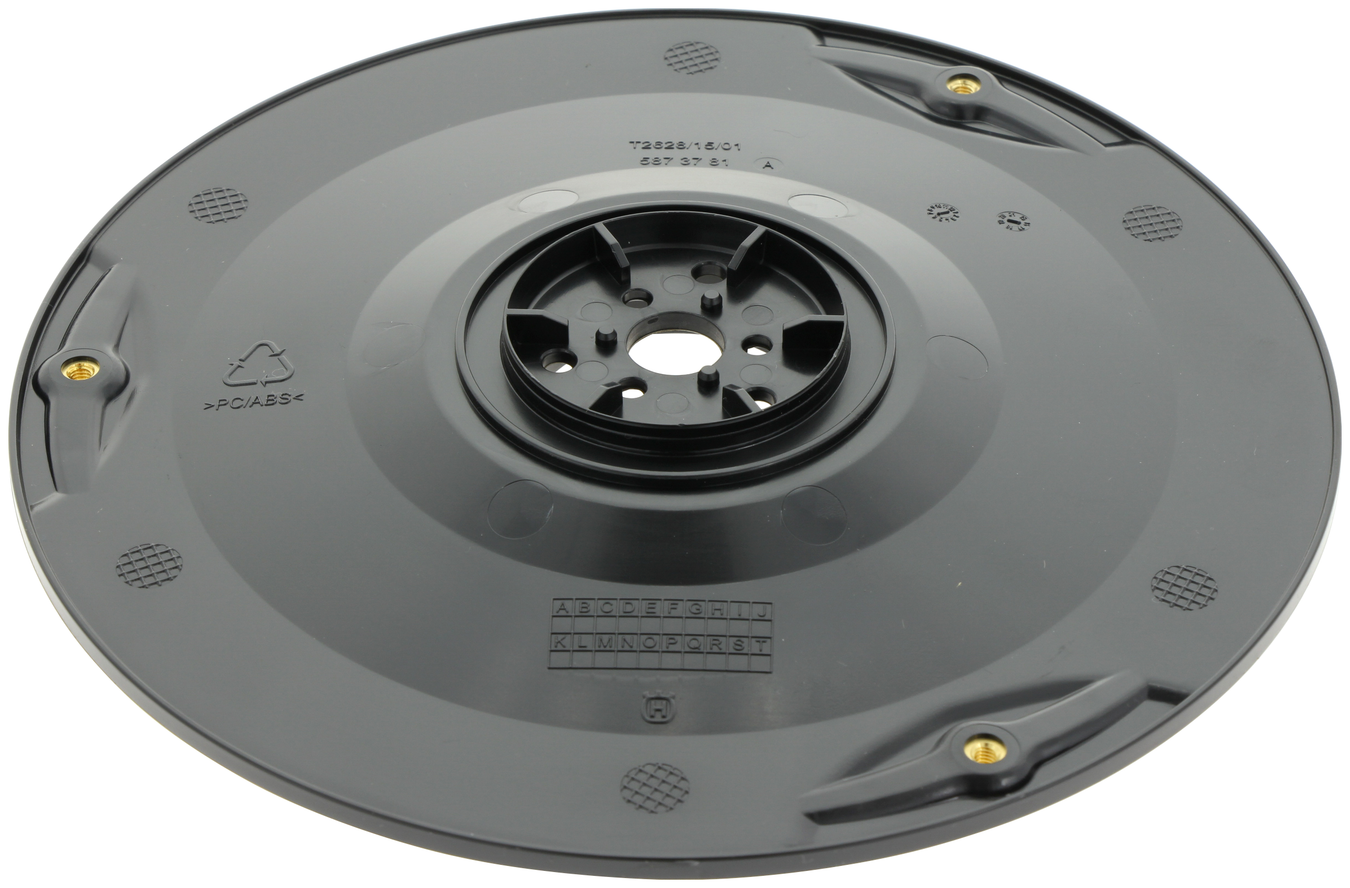
6. Your automower will look like the picture above, unscrew all of the torx T20 screws shown by each arrow. Once completed you also need to remove the warranty seal located on the side of the body.
7. The body can split now and you need to lift slowly from the front and you will see that there is a HMI cable attaching the sections together. unclip this and you can remove the top half of the body and place it out of the way.
8. Follow the cables from the wheel motor to the main circuit board. Disconnect wire from the circuit board.
9. Use a flat screwdriver to flick off the grey cap on the wheel. This will expose a nut. Loosen the M16 nut and remove the wheel.

10. Remove the wheel motor by unscrewing the 4 Torx 20 screws in the wheel motor bracket.
11. At this point you can unboxed your new wheel motor and place it into your machine. You need to reverse all of the steps to assemble your machine back together. when replacing the screws and M16 nut hand tight is usually sufficient but to do the job to the correct standard the screws should be tightened to 1.6 (Nm) and the Nut 18 (Nm).

If you have a fault on your automower or your machine needs its winter service then we offer our workshop services to anyone in mainland UK.